前面的課程,我們已經完成了網站大部分的基本架構,現在開始要來進行網站的優化。也就是要讓你的網站看起來更美觀、更專業。
此課程將以 "Thrive Themes" 裡面另一個外掛: " Thrive Theme Builder" 進行演示。
- 回到 WordPress 控制面板頁面,將滑鼠移至 " Thrive Dashboard",找到 Thrive Theme Builder 並點擊進入。
- 點擊 "Download and Activate Theme" 按鈕進入。
- 點擊 "Load from the Thrive Cloud" 進入。
- 將滑鼠移到想要新增的主題 (THEME),點擊 "Download" 按鈕下載,目前 Thrive Theme Builder 提供三個主題 (Ommi、Shapeshift、Kwik) 可以選擇,這裡以 "Shapeshift" 主題為例。
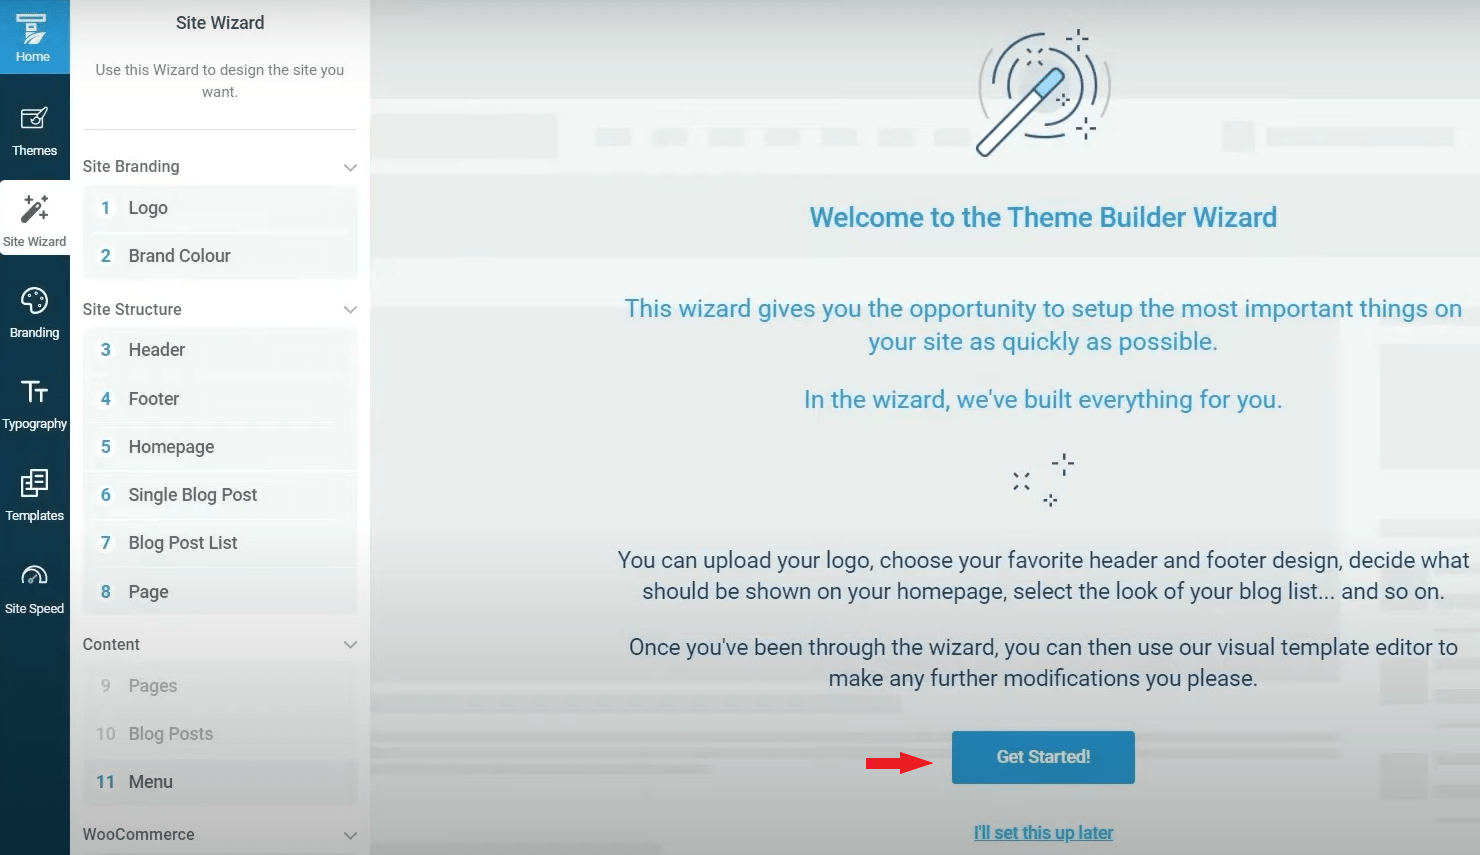
- 接著會進入Thrive Theme Builder 設定精靈頁面 (Theme Builder Wizard) ,點擊 " Get Started! " 按鈕並開始進行設定。
1.1 上傳網站的 Logo
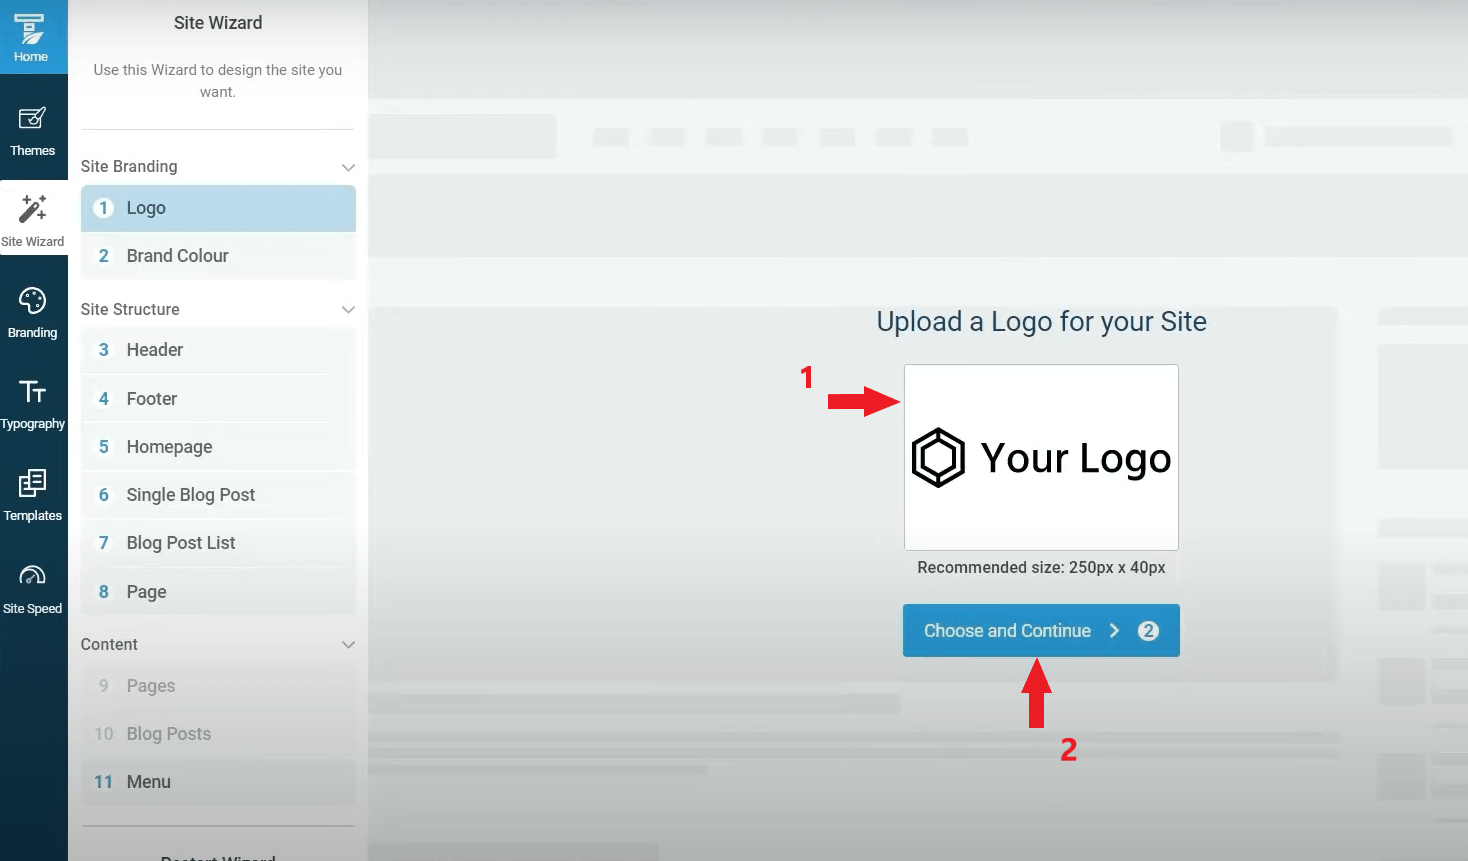
- 點擊 " Your Logo " 按鈕,上傳你的網站 Logo。Logo 的推薦尺寸為 250 像素 x 40 像素, 若你尚未有屬於你自己網站的 Logo,推薦你可以去 “Canva” 免費的網站,為你的網站設計一個 Logo。
- 接著點擊 " Choose and Continue " 按鈕,進行下一步。
1.2 選擇網站的呈現顏色
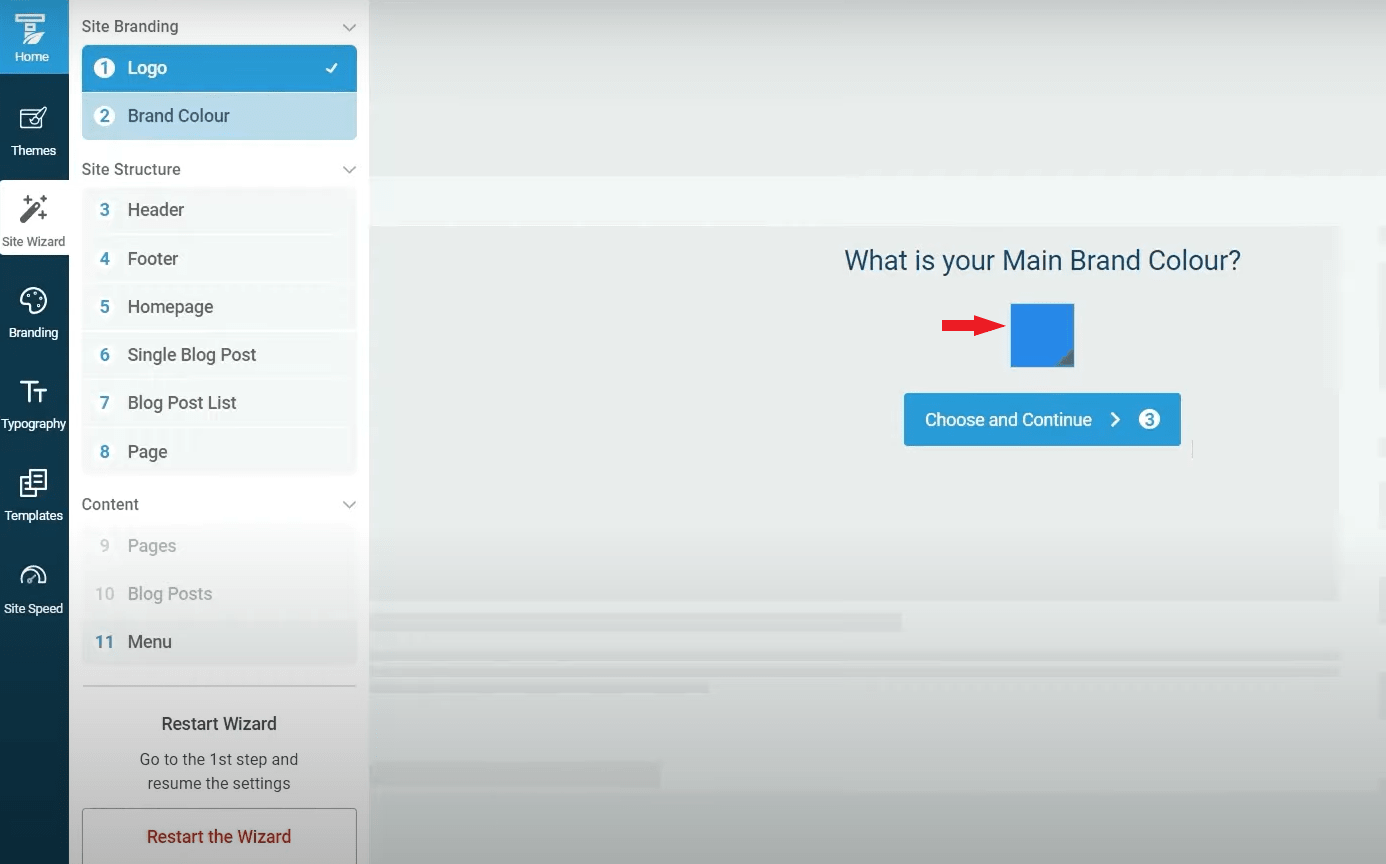
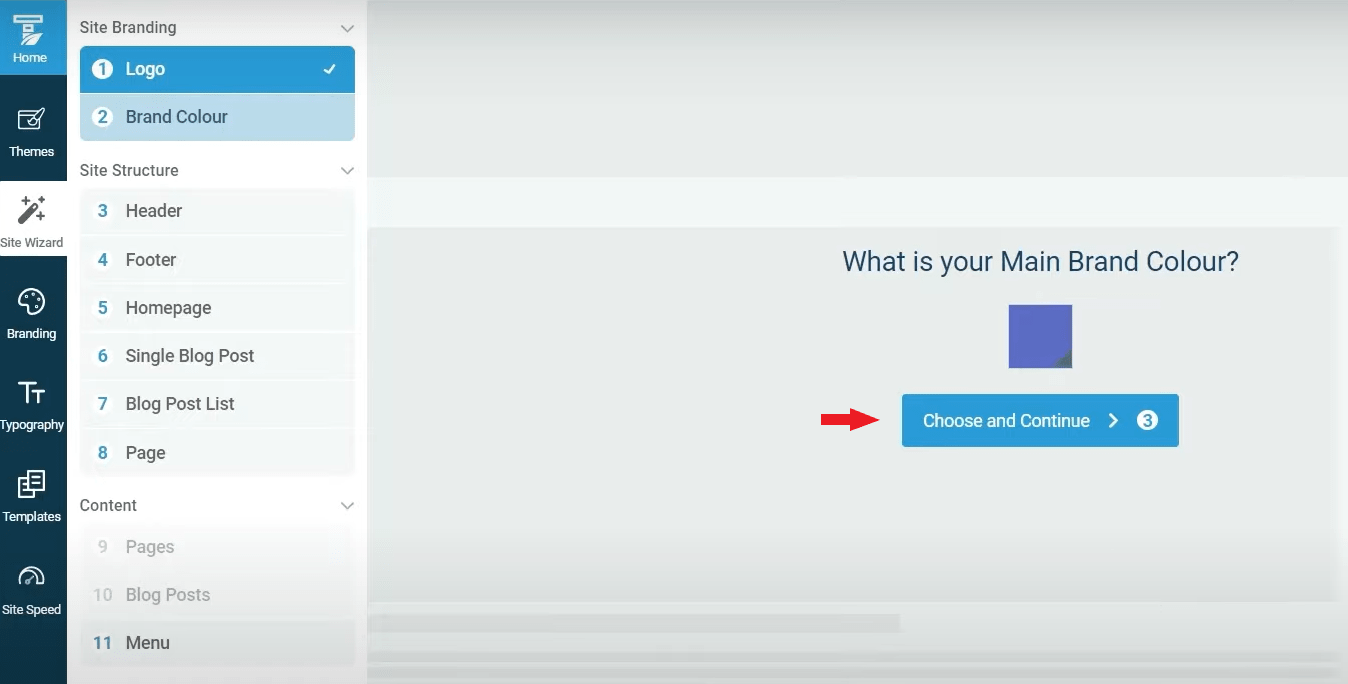
- 點擊顏色圖標來設定你的網站主要色系,選擇一種你喜歡的顏色,這將是你網站上會呈現的主要顏色。
- 選擇完畢後,點擊 " Choose and Continue " 按鈕,進行下一步。
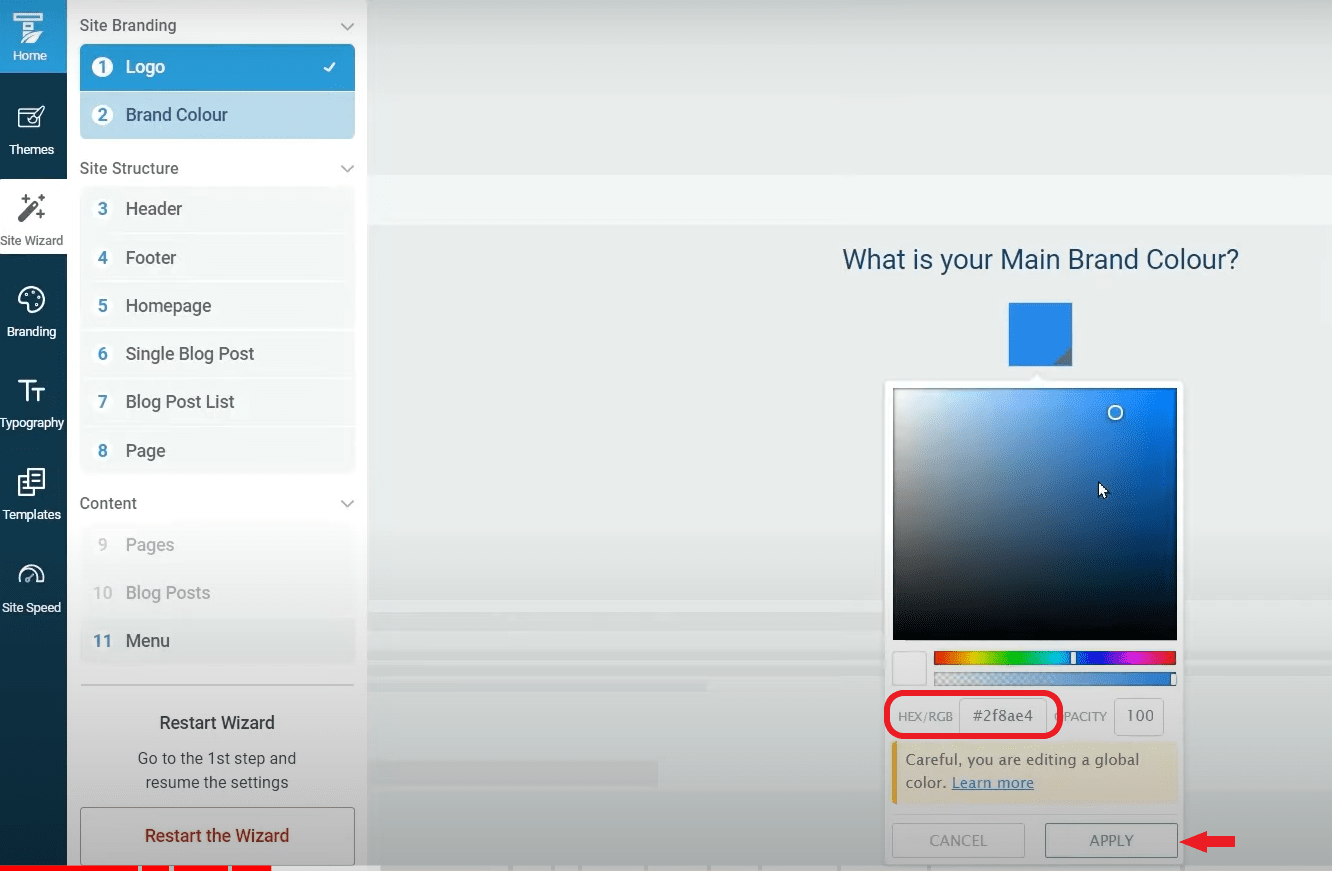
- 你可以在圖標上選擇,或直接填入Hex網頁色碼,選擇完畢後,點擊 "APPLY" 。
- 接著,點擊 " Choose and Continue " 按鈕,進行下一步。
1.3 選擇網站的 Header (頁首標題)
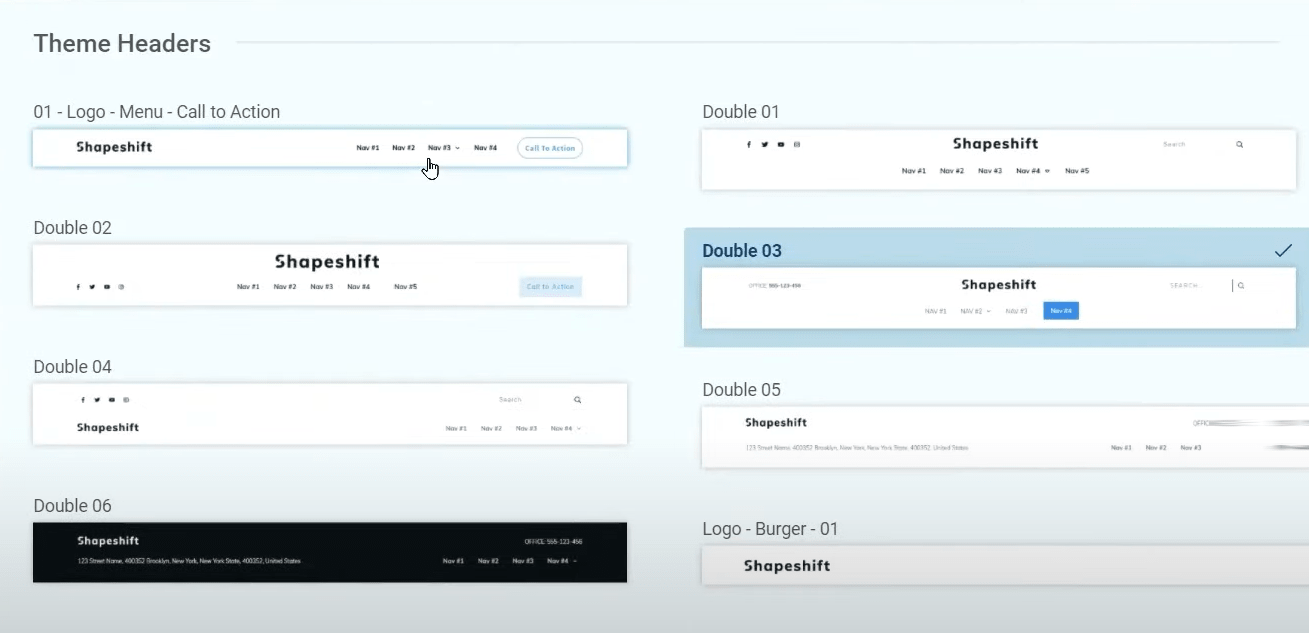
- 點擊下拉選單來選擇 Header (標題) 模板。你可以瀏覽這些設計,然後查看與你網站內容最相似的設計。
- 選擇你想呈現的 Header 模板之後,點擊 " Choose and Continue " 按鈕,進行下一步。
1.4 選擇網站的 Footer (頁尾版面)
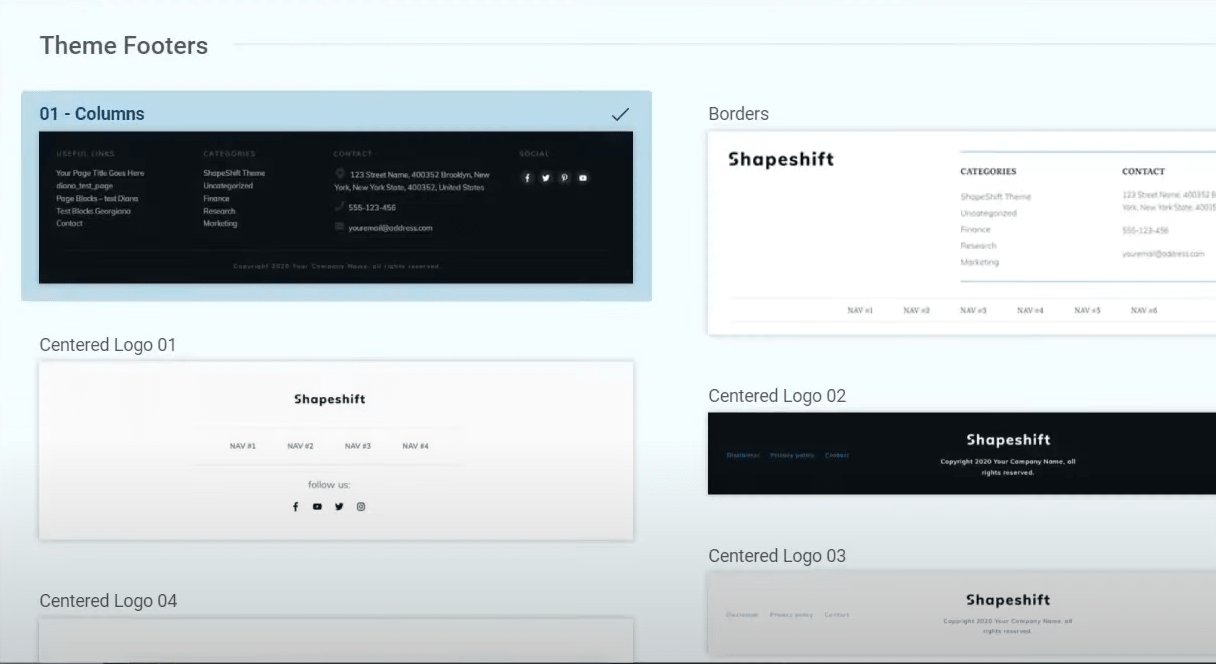
- 點擊下拉選單來選擇 Footer 模板。作為初學者,我建議選擇一個簡單的即可。
- 選擇你想呈現的 Footer 模板之後,點擊 " Choose and Continue " 按鈕,進行下一步。
1.5 選擇網站的 Homepage (網站首頁)
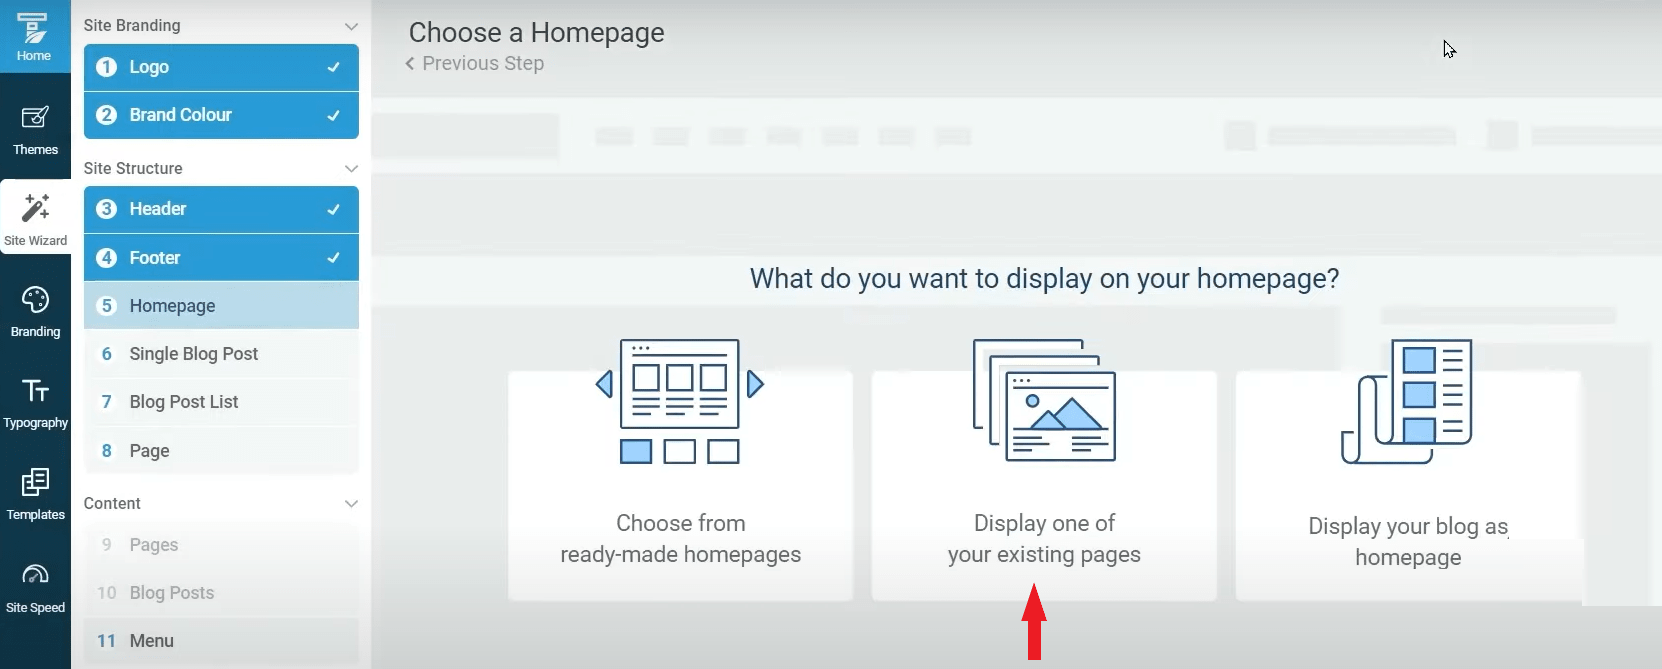
- 這裡,你將有三個選擇,你可以選擇: 1. 從外掛預先設計好的主頁中進行選擇,2. 可以使用現有的頁面,3. 也可以將文章 ( blog) 頁面顯示為主頁。
- 因為之前我們已經創建好了網站首頁 (Homepage) ,所以可以選擇第二選項: " Display one of your existing pages" 選項。
- 接著,1. 點擊 "Homepage" 下拉選單,選擇網站首頁 (Homepage)。 2. 點擊 "Choose and Continue" 按鈕,進行下一步。
1.6 選擇網站的 Single Blog Post (單篇文章) 模板
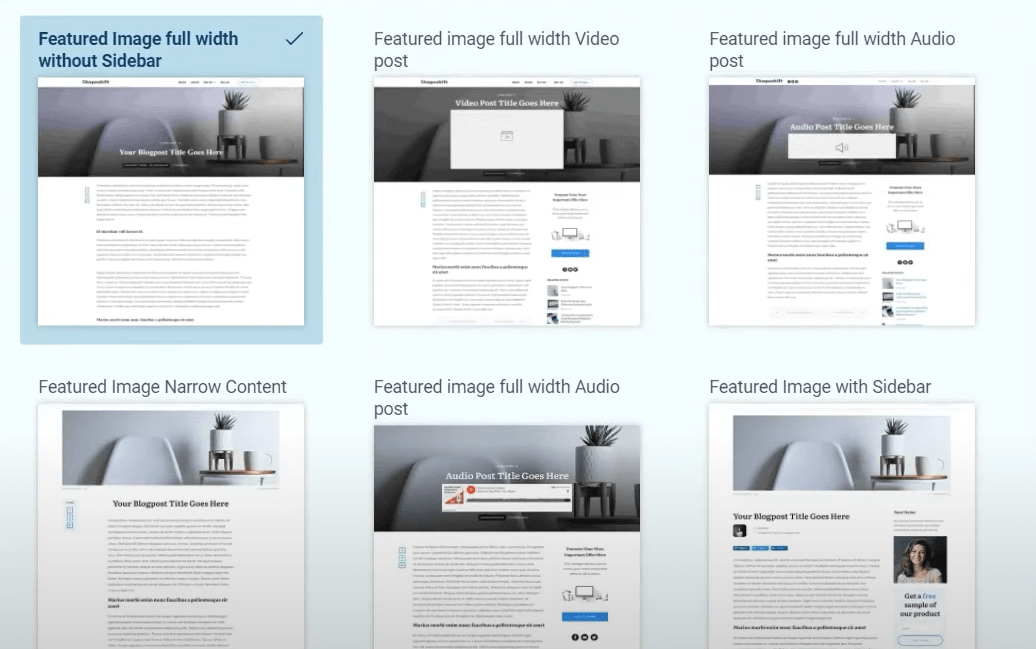
- 在此處選擇你的網站文章設計樣式。 你希望網站文章樣式看起來像什麼? 你可以再次使用下拉選單,從一系列預製模板中進行選擇。
- 選擇好之後,點擊 " Choose and Continue " 按鈕,進行下一步。
1.7 選擇網站的 Blog Post List (文章列表) 模板
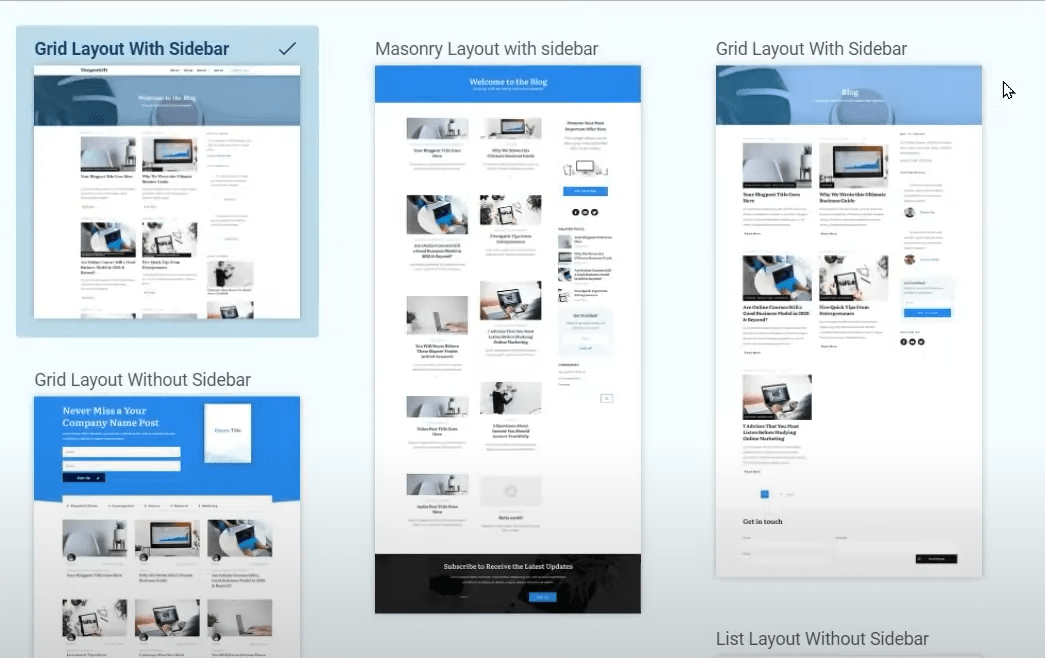
- Blog Post List (文章列表),顧名思義就是你網站所有文章呈現的樣式。你可以再次使用下拉選單,從一系列預製的模板中進行選擇。
- 選擇好之後,點擊 " Choose and Continue " 按鈕,進行下一步。
1.8 選擇網站的 Page (頁面) 模板
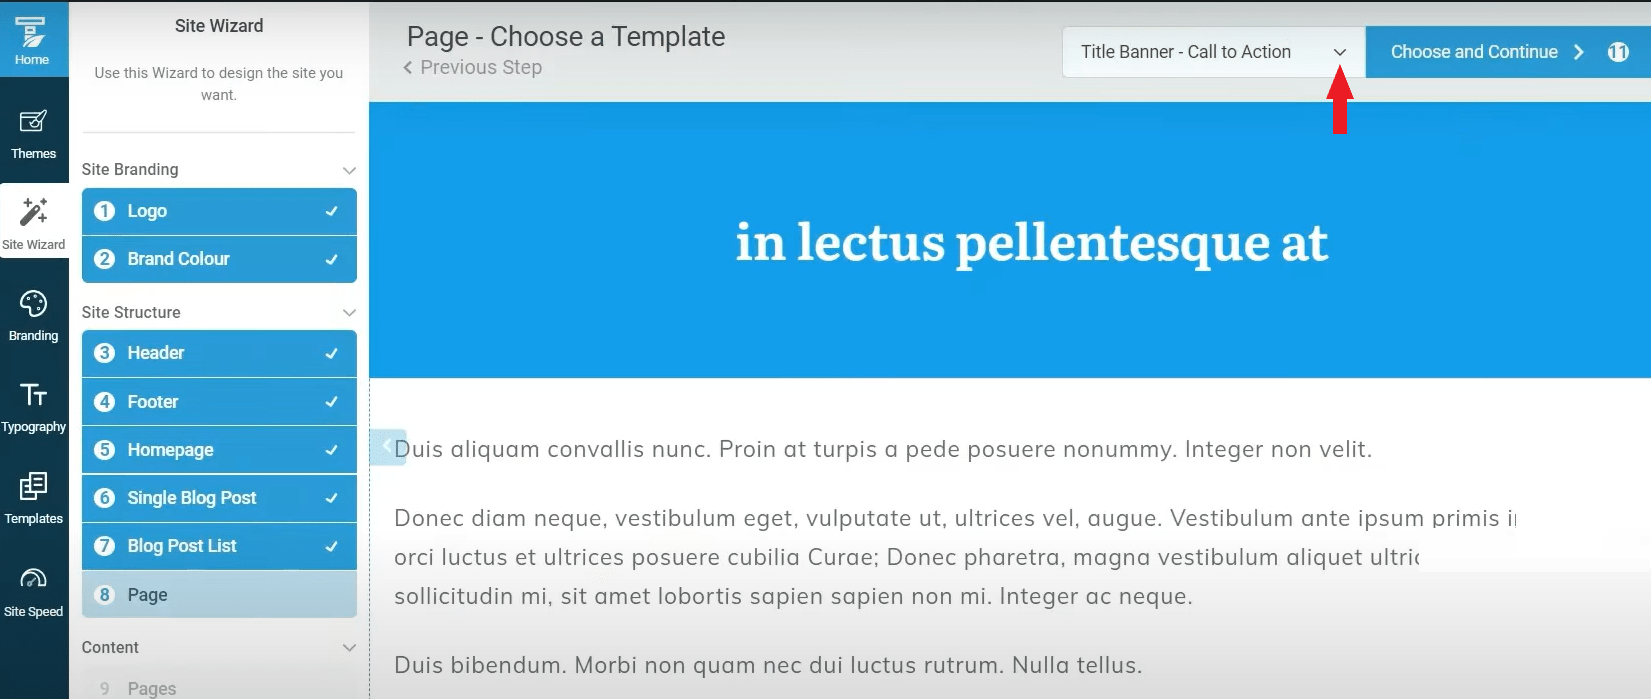
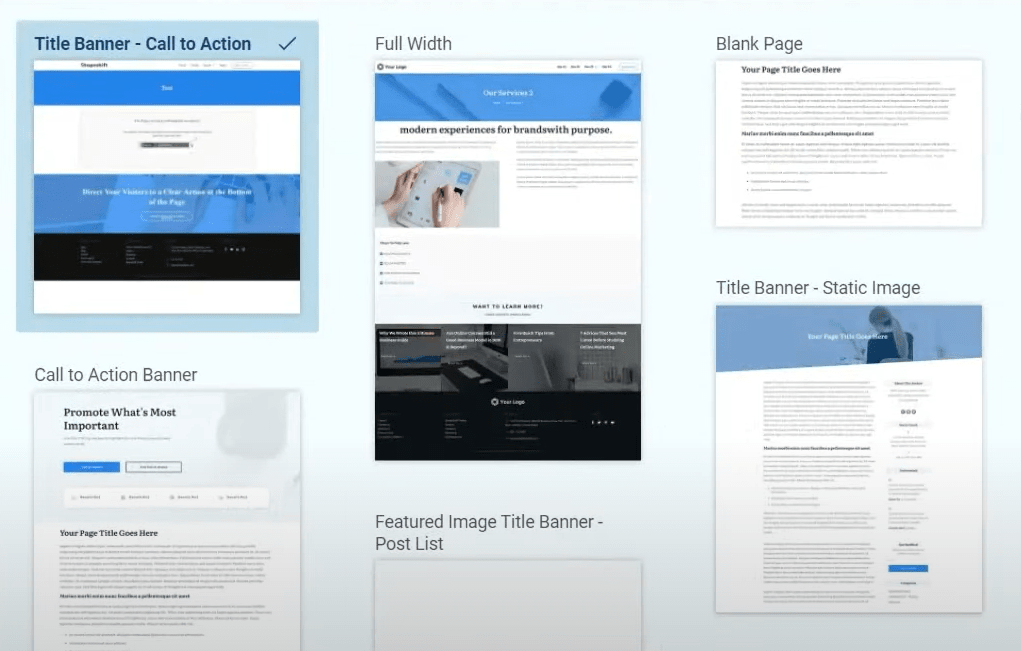
- 再次使用下拉選單,你將會發現有許多已設計好的頁面模板,你可以選擇你喜歡的頁面設計。
- 選擇好之後,點擊 " Choose and Continue " 按鈕,進行下一步。
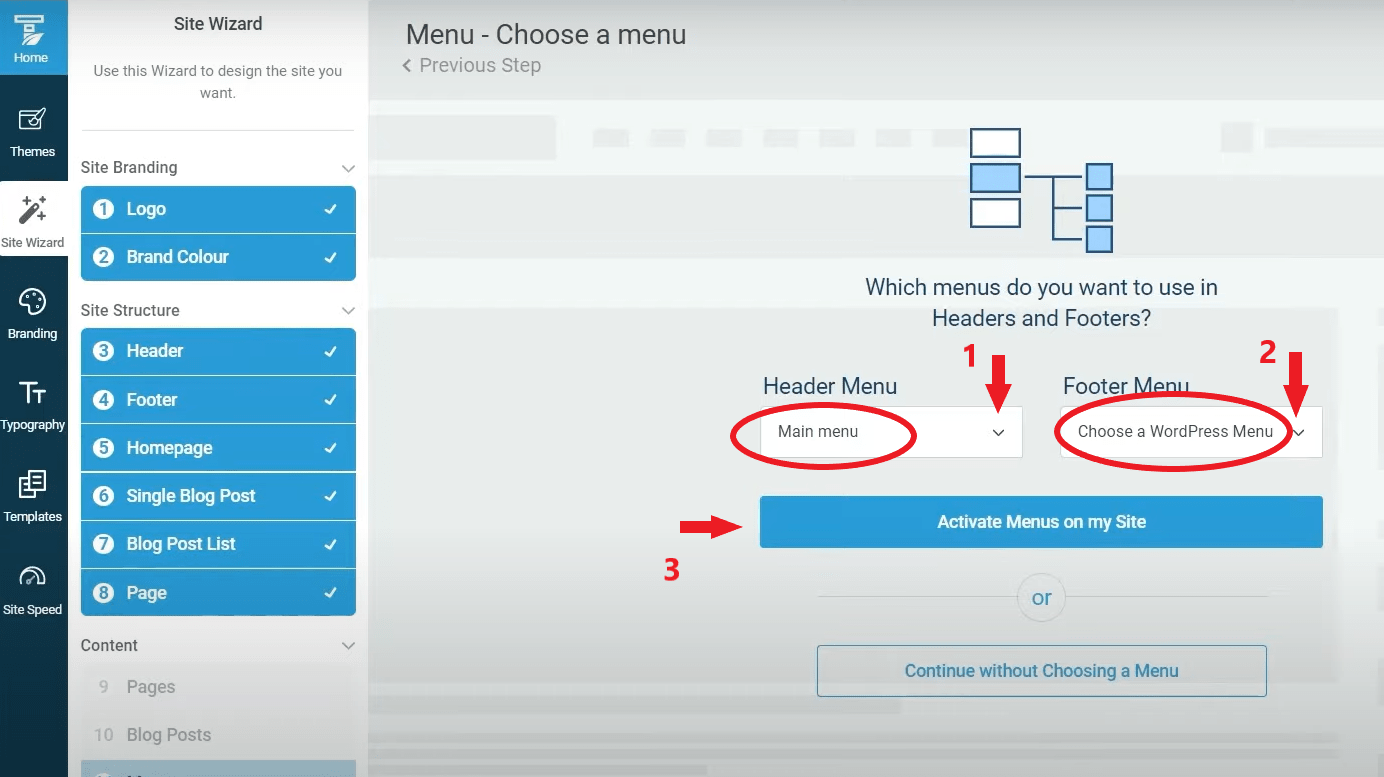
1.9 選擇網站的 Menu (選單)
1
Header Menu (主選單) 2
Footer Menu (頁尾選單)3
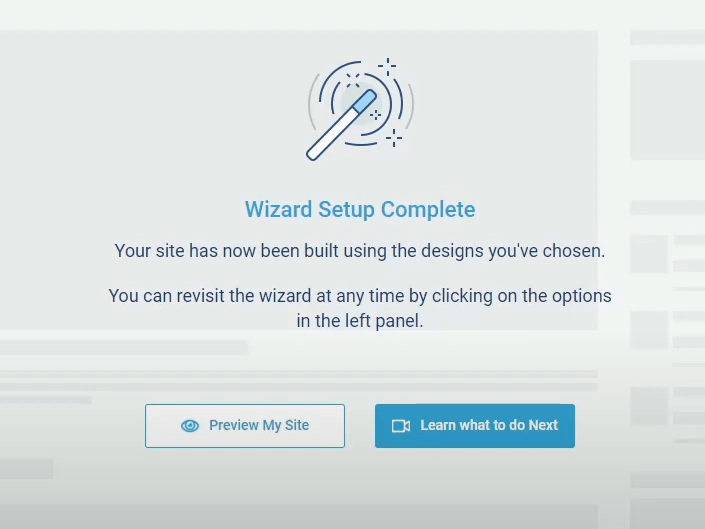
點擊 “Activate Menu on my Site” 按鈕,完成設定。
2. 優化網站速度
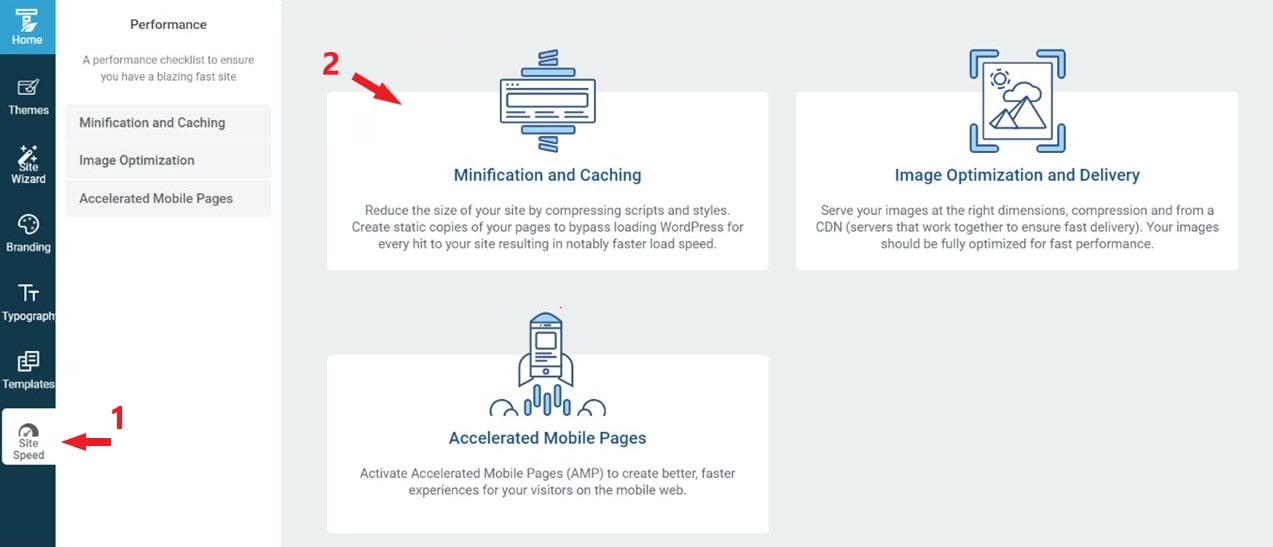
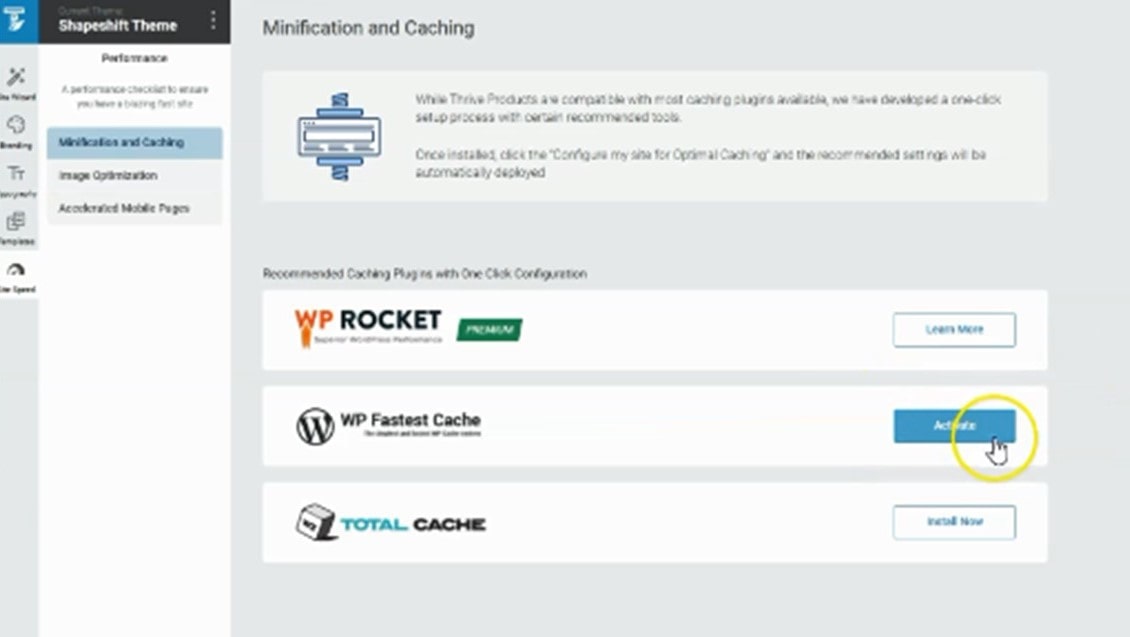
- 1. 回到 Thrive Theme Builder 控制面板。 點擊 “Site Speed”圖標。
- 2. 點擊 “Minification and Caching” 圖標,開始設定。
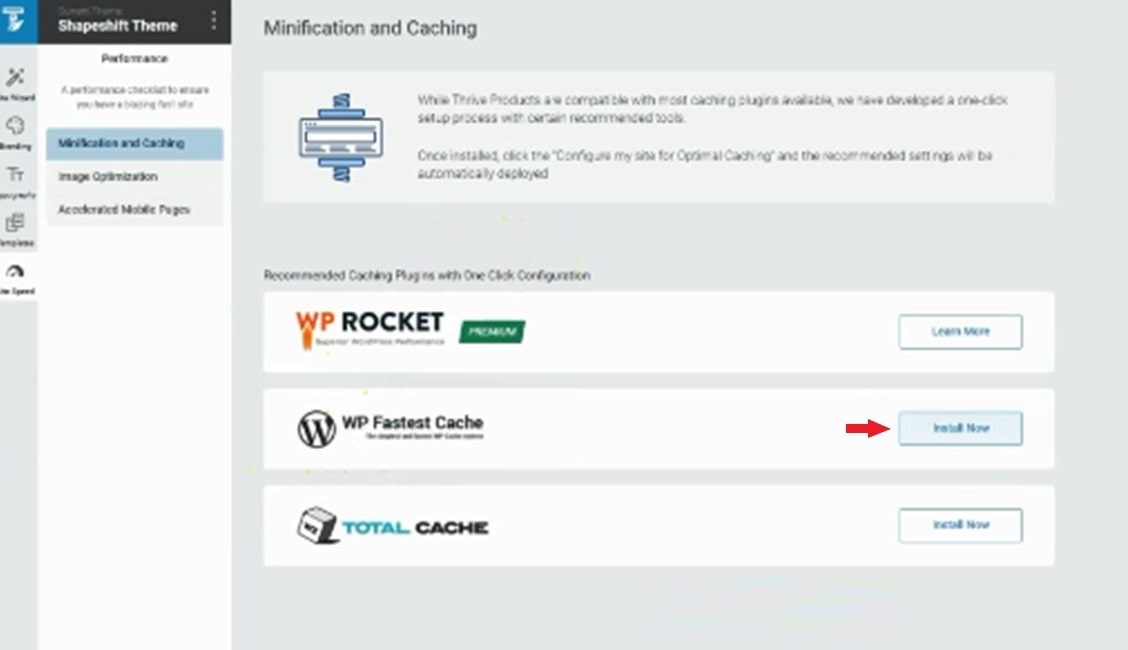
- 選擇 “WP Faster Cathe” 並點擊 “Install Now” 按鈕。
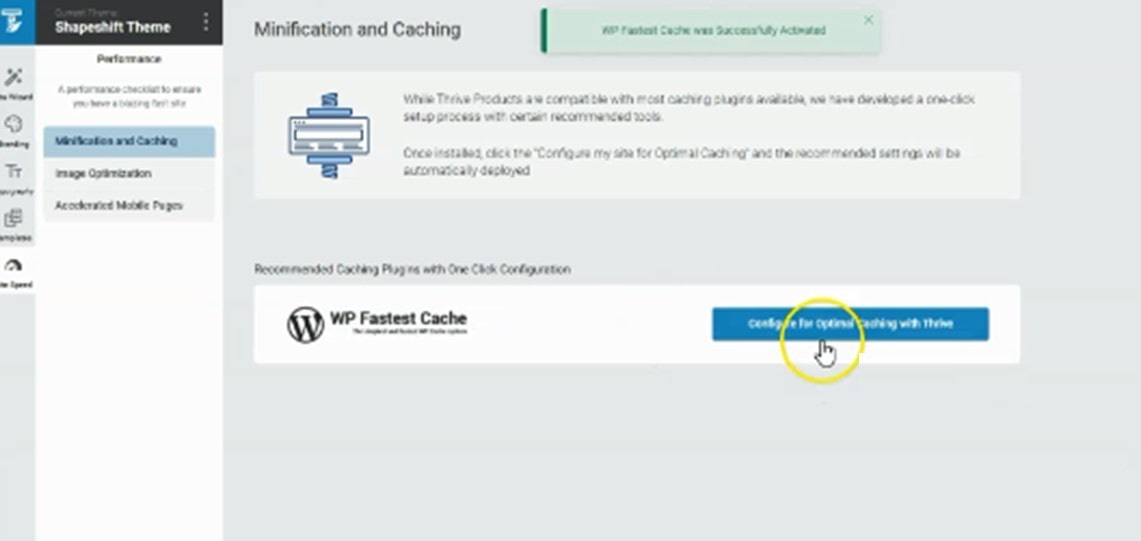
- 點擊 “Configure for Optimal Caching with Thrive” 按鈕。
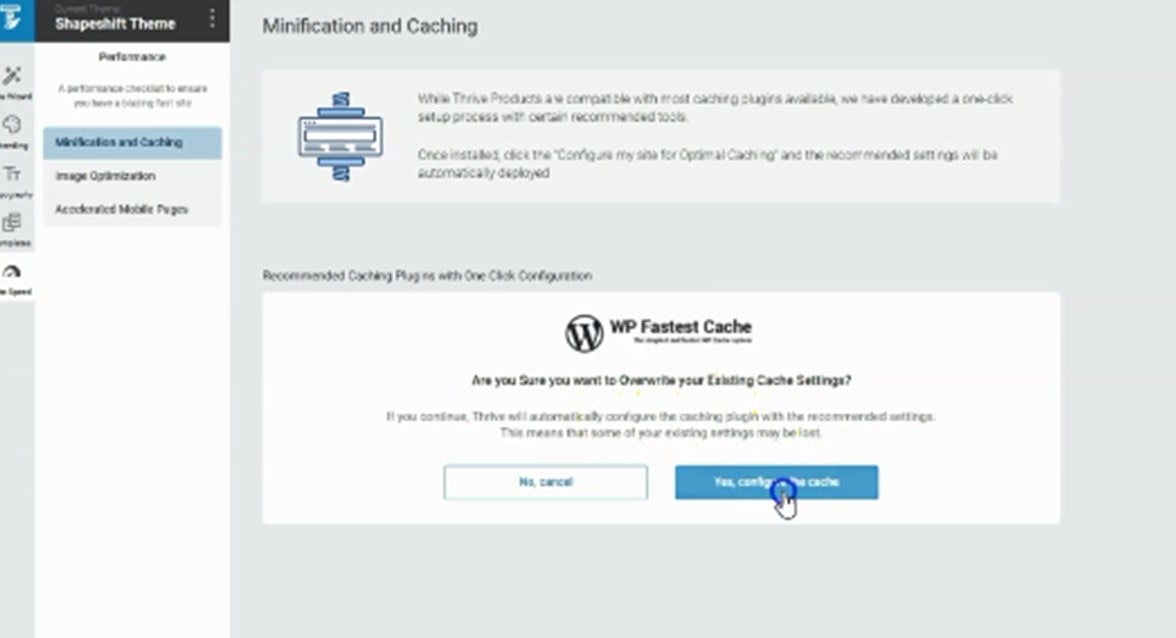
- 點擊 “Yes, configure the cache” 按鈕。
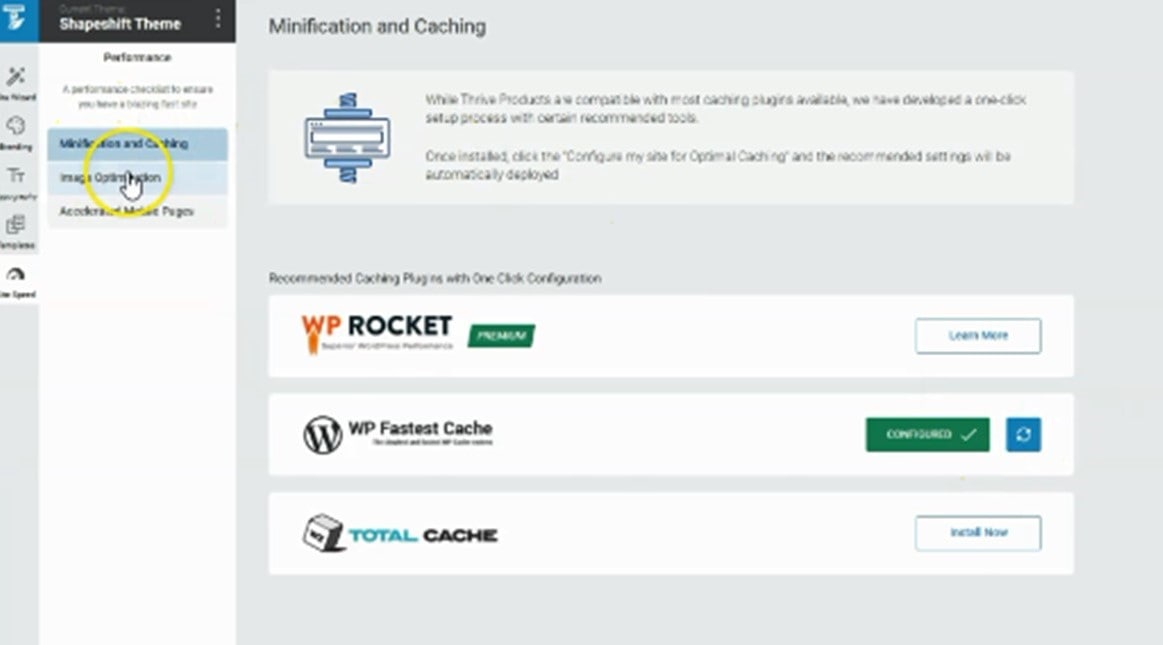
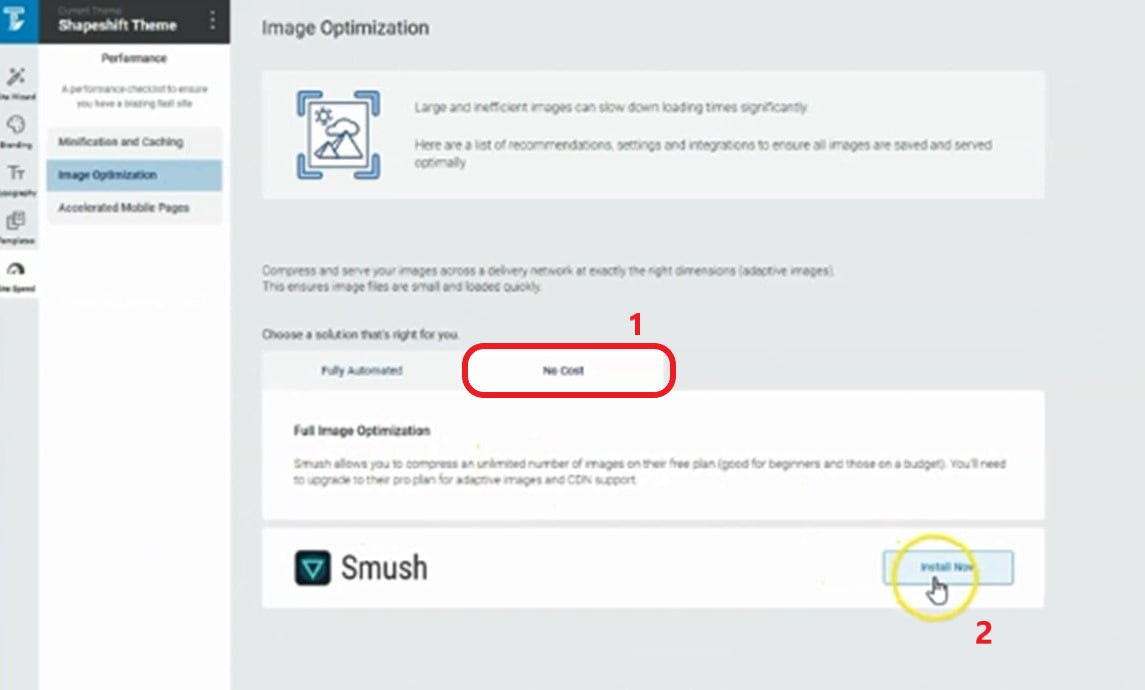
- 點擊 “Image Optimization” 按鈕。
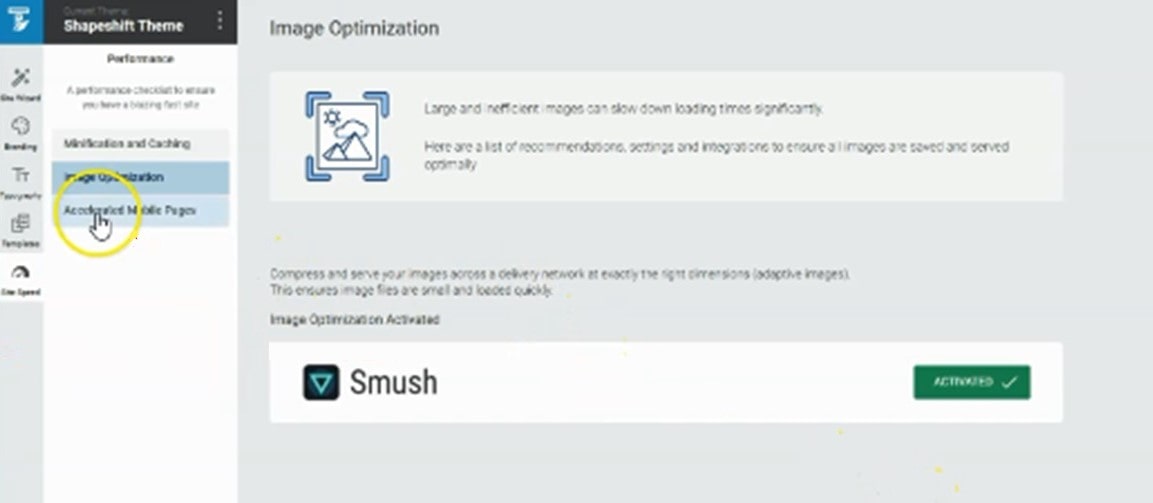
- 選擇 “No Cost” 選項, 然後點擊 “Install Now” 按鈕。
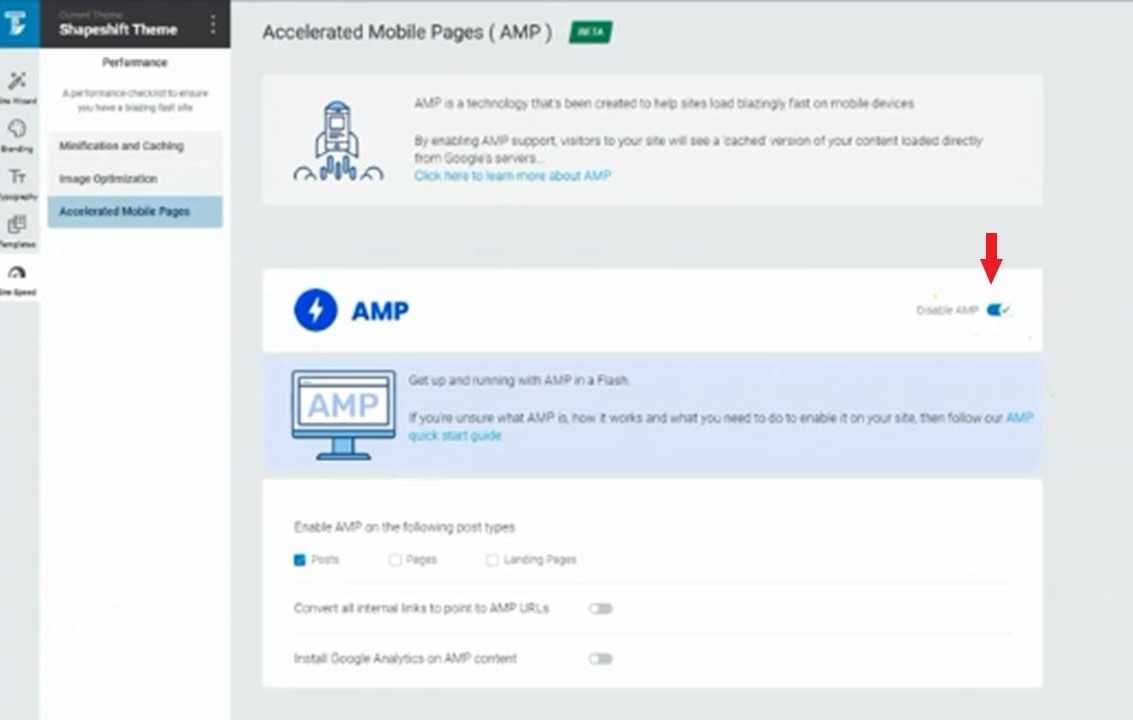
- 接著,點擊 “Accelerated Mobile Pages”按鈕。
大功告成! 網站速度已經完成優化!
到目前為止,我們已經完成了所有架設網站的流程 (註冊個人網站網域 + 承租虛擬主機、安裝 WorgPress 及設定、網頁設計) !
你的網站已經準備就緒,你可以訪問自己的網站看看你辛苦架設的成果!


