安裝 Thrive Architect 與 Thrive Theme Builder 外掛

要使用 Thrive Architect 和 Thrive Theme Builder 這兩個外掛,首先你必須到 Thrive Theme 官網租用(購買)。


租用(購買)流程如下:

  • 首先,登入 Thrive Theme 官網
  • 接著,點擊 " Get Thrive Theme Builder Now" 按鈕。 
購買Thrive Architect and thrive theme builder-min
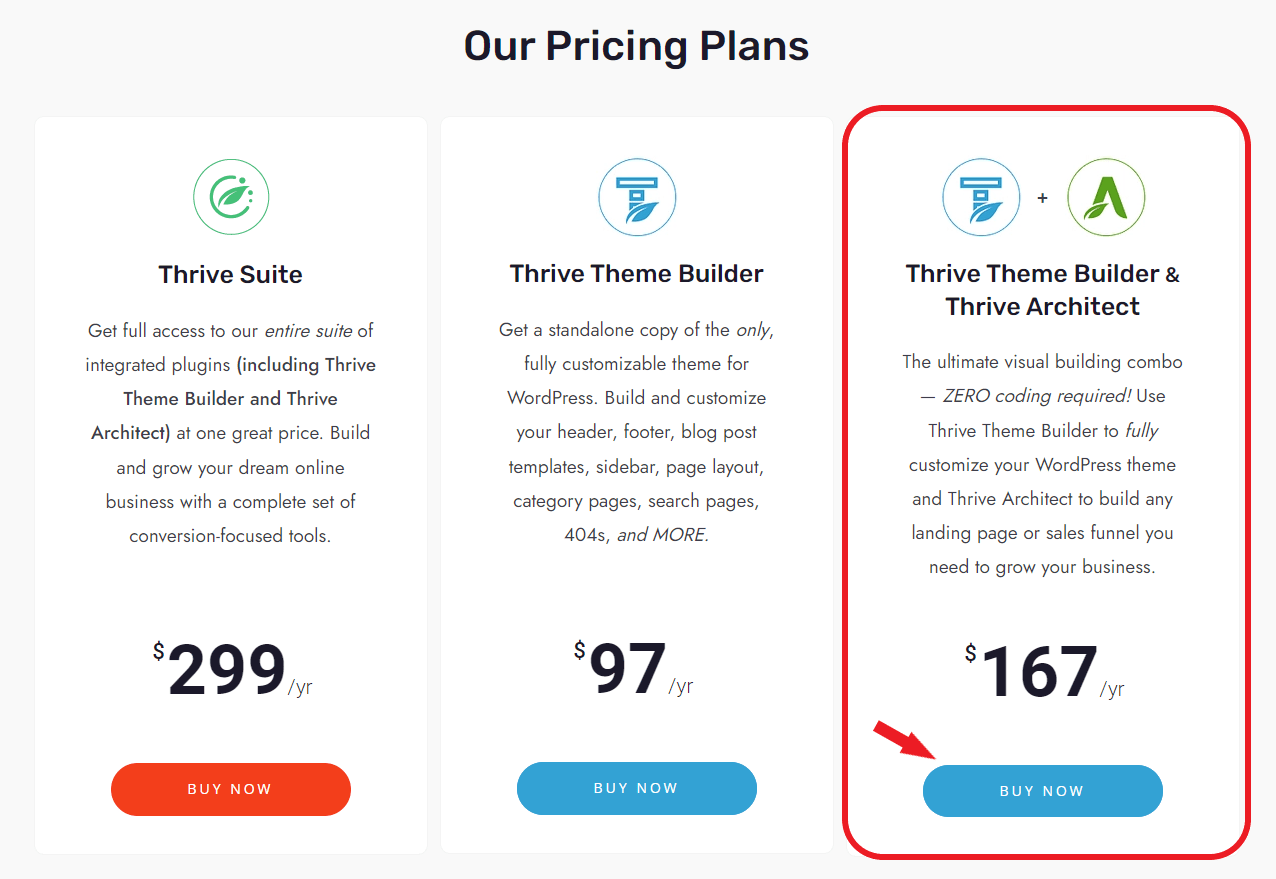
  • 選擇購買方案 (Thrive Architect + Thrive Theme Builder ),點擊 "BUY NOW" 按鈕。
購買Thrive Architect and thrive theme builder 2
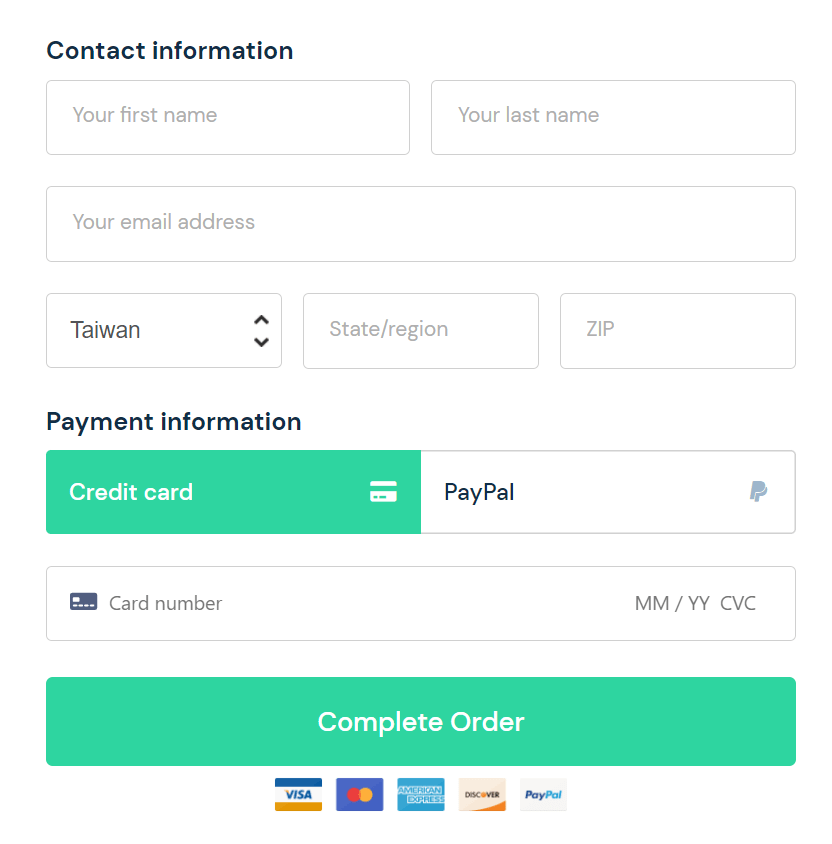
  • 接著來到付款頁面。

Contact information

填寫你的姓名、email、State/region 欄位可以填寫你的所在地區,如: Taipei..、ZIP 欄位填寫3位數的即可。

Payment information

填寫你的信用卡號(Card number)、信用卡有效日期 (MM/YY)、卡片背面3位數(CVC)。(如果你有 PayPal 帳號也可使用它來支付。)

填寫完成之後,點擊 "Complete Order" 按鈕。
Thrive Suite membership 3
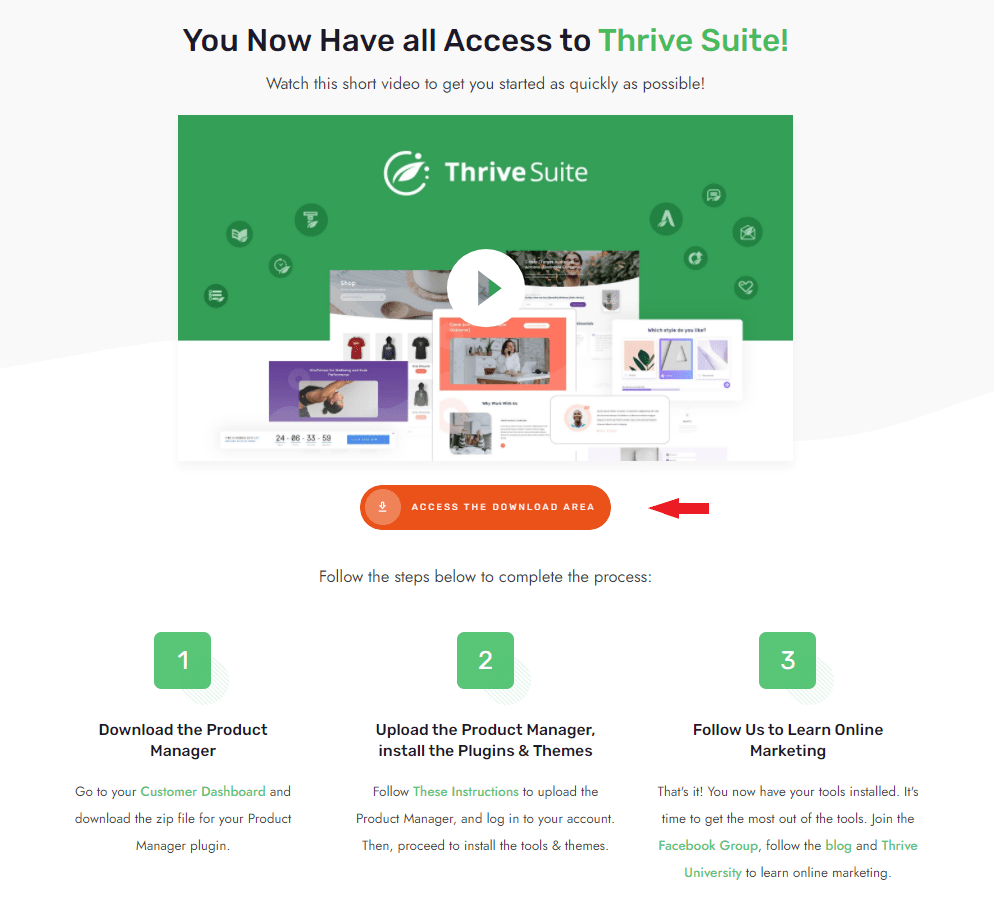
  • 購買完成後,系統會自動導引至此頁面,點擊 "ACCESS THE DOWNLOAD AREA" 紅色按鈕。
Thrive Suite member 4
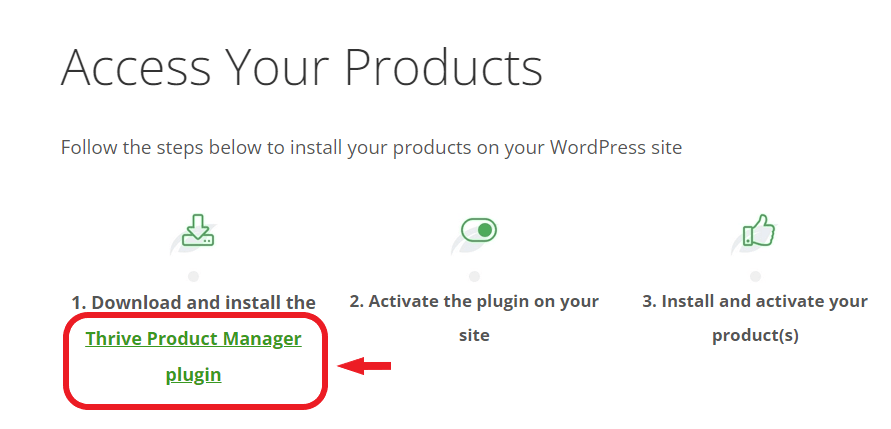
  • 接著,點擊 "Thrive Product Manager Plugin" 下載檔案到你的電腦中。
Thrive Suite membership 5
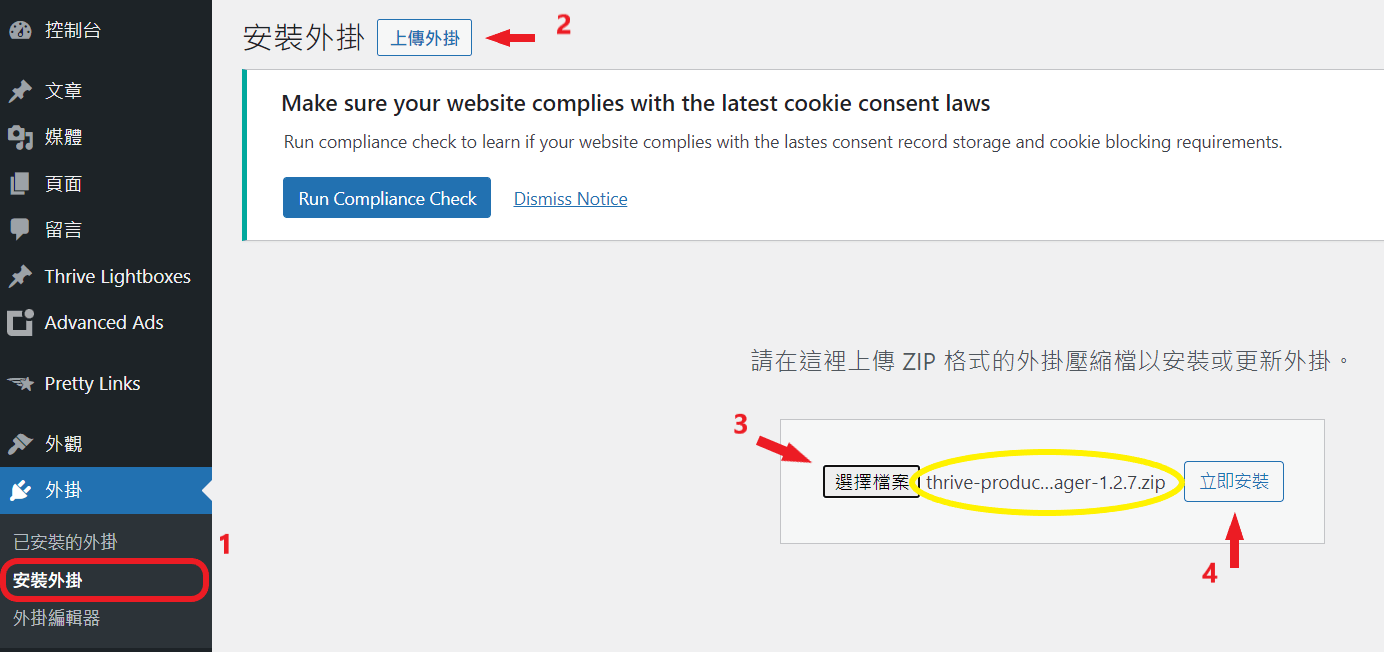
  • 接著,回到 WordPress 後台。
  1. 1
    點擊 "外掛/安裝外掛"。
  2. 2
    點擊 "上傳外掛"。
  3. 3
    點擊 "選擇檔案",選擇剛剛下載到電腦的檔案至此處。
  4. 4
    點擊 "立即安裝"。
install Thrive Product Manager Plugin
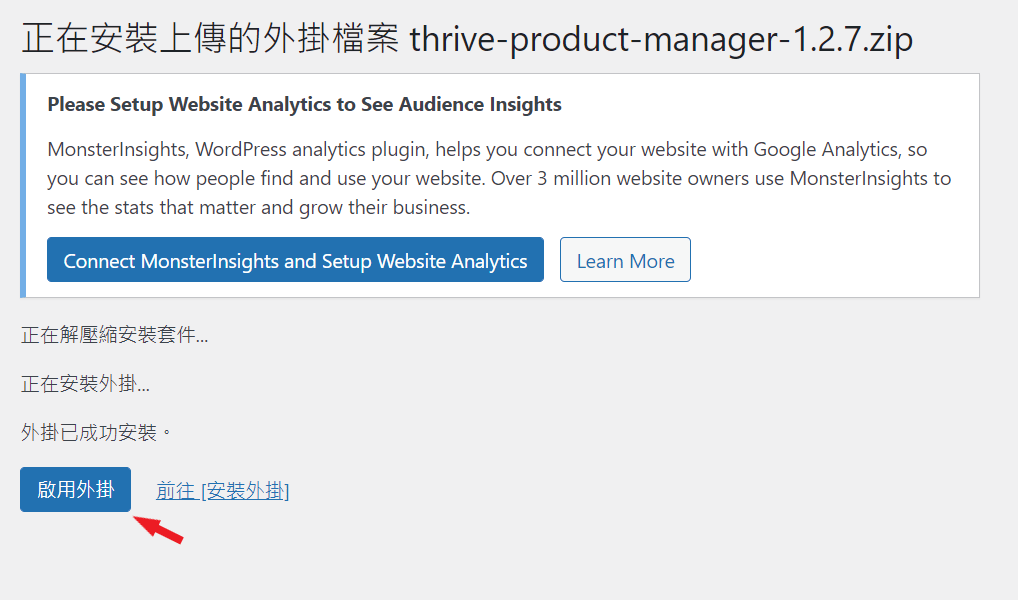
  • 安裝完成後,點擊 "啟用外掛" 按鈕。
install Thrive Product Manager Plugin
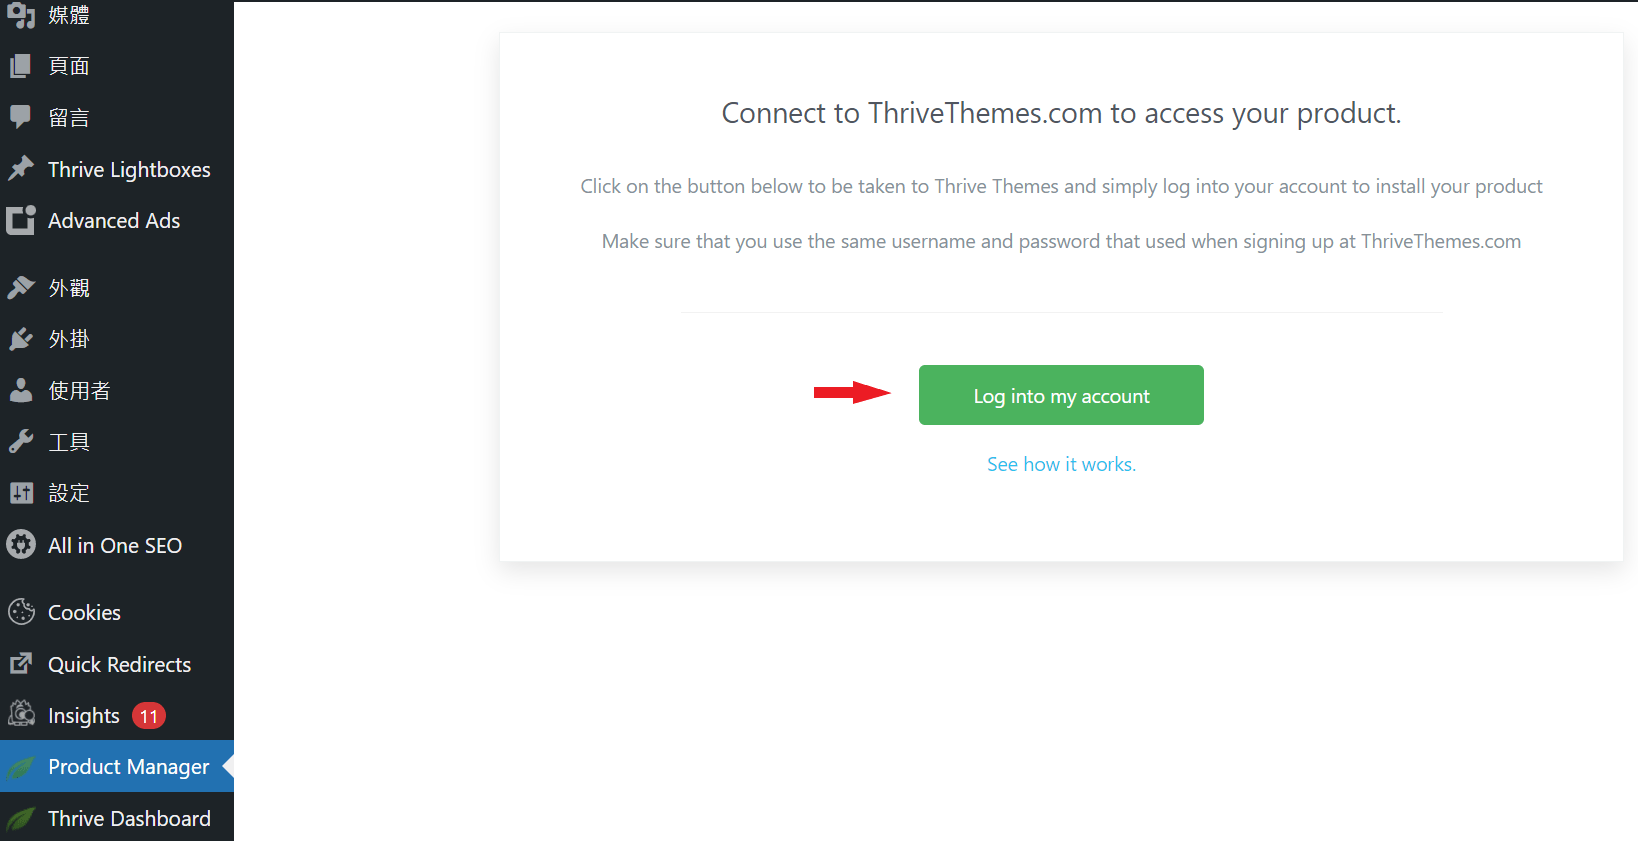
  • 點擊 "log into my account" 按鈕,登錄你的帳號、密碼。
Thrive Suite membership login
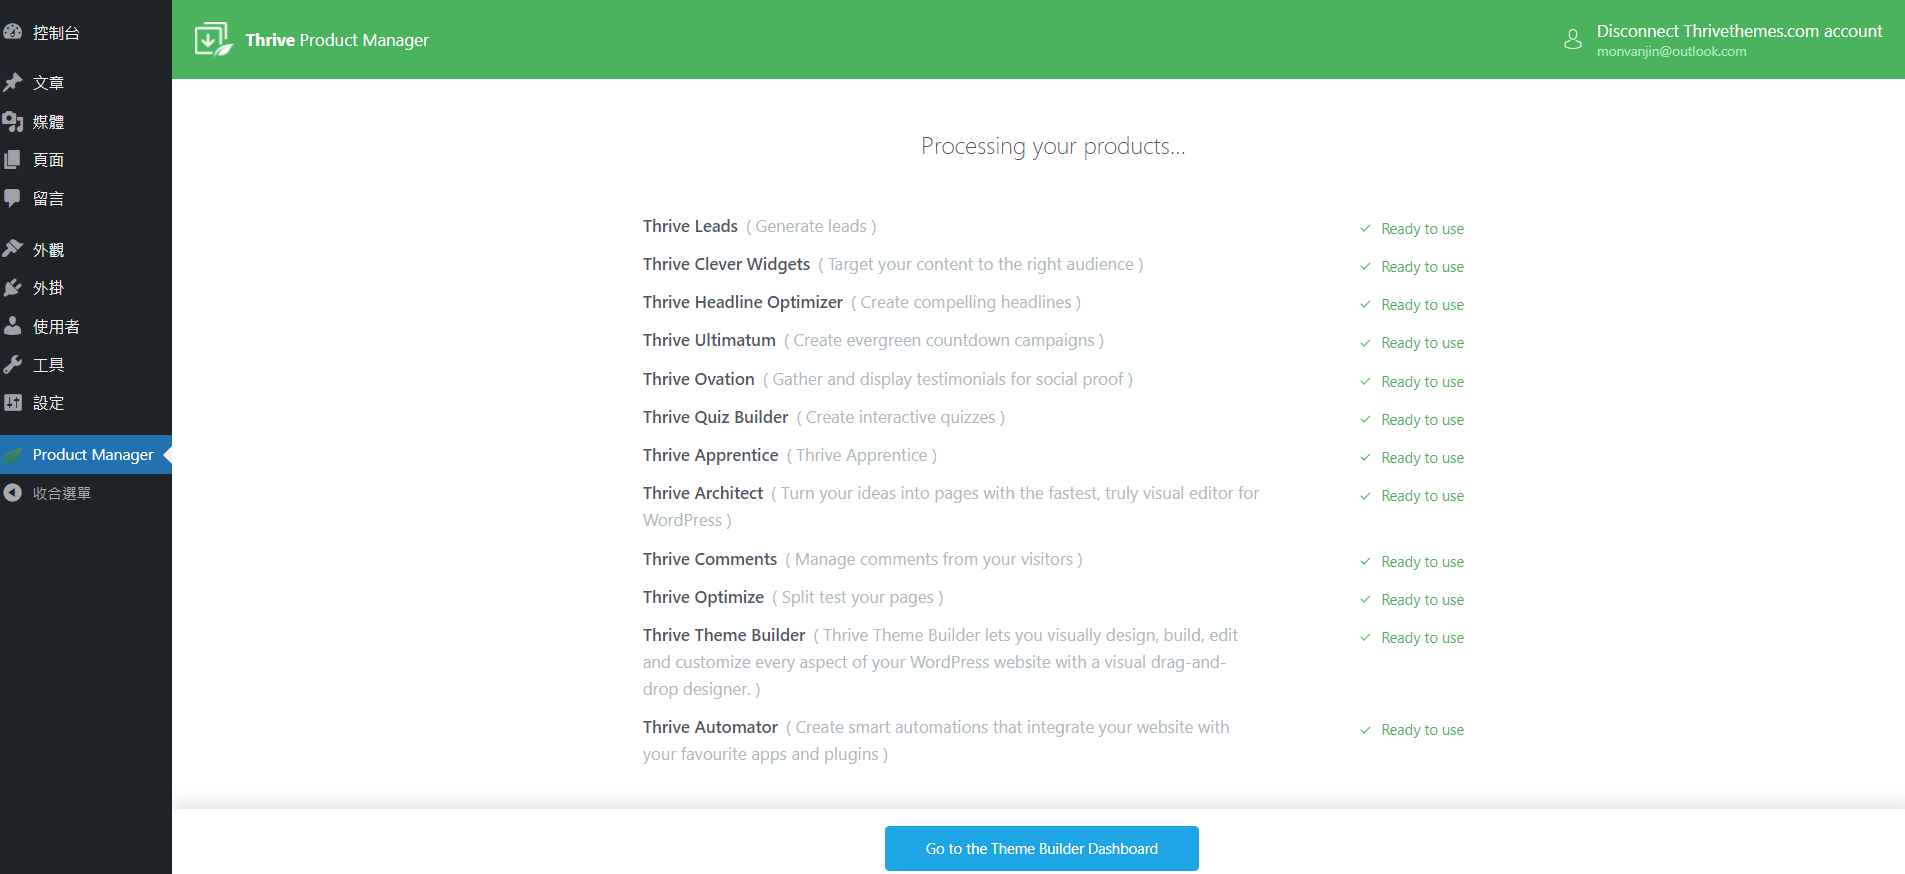
  • 安裝 Thrive Product Manager 內所有外掛,如果你是購買 Thrive Architect + Thrive Theme Builder,則會有 Thrive Architect、Thrive Theme Builder 和 Thrive Automator 三個產品選項可供安裝。
  1. 1
    點擊 "Select all"。
  2. 2
    點擊 "Install Theme"。
  3. 3
    點擊 "Install and License selected products" 按鈕完成安裝。
Thrive Suite installation

我們已經完成了 Thrive Architect + Thrive Theme Builder 的安裝了。下面的課程,我們將利用 Thrive Architect 和 Thrive Theme Builder 這兩個工具,對網站進行主要頁面的創建與編輯。
Thrive Suite 完成安裝
{"email":"Email address invalid","url":"Website address invalid","required":"Required field missing"}
>